Getting started
create-keystone-app is a CLI app that makes it easier for you to initiate a Keystone project. It generates some files for you and installs all the dependencies you need to run the Admin UI and start using the GraphQL API.
Quick Start
npm create keystone-app@latestcd my-appnpm run dev
Installing a Keystone instance
Open your preferred shell and make sure you’re in the folder you want to create your new project in. create-keystone-app will generate a new folder with your new Keystone files in it.
npm
npm create keystone-app@latest
npx
Use npm's npx:
npx create-keystone-app@latest
Naming your app
The CLI will ask you to name your app. Once named, it will create a new SQLite database.
You can switch to another database such as PostgreSQL once your project is created, check out the docs on Database Setup.
Opening your shiny new Admin UI
You can now cd into the folder that was created for you and start Keystone:
cd my-appnpm run dev
This will generate the Admin UI pages via Next.js on http://localhost:3000. When you visit the Admin UI for the first time you will be presented with a handy screen that asks you to create a user:

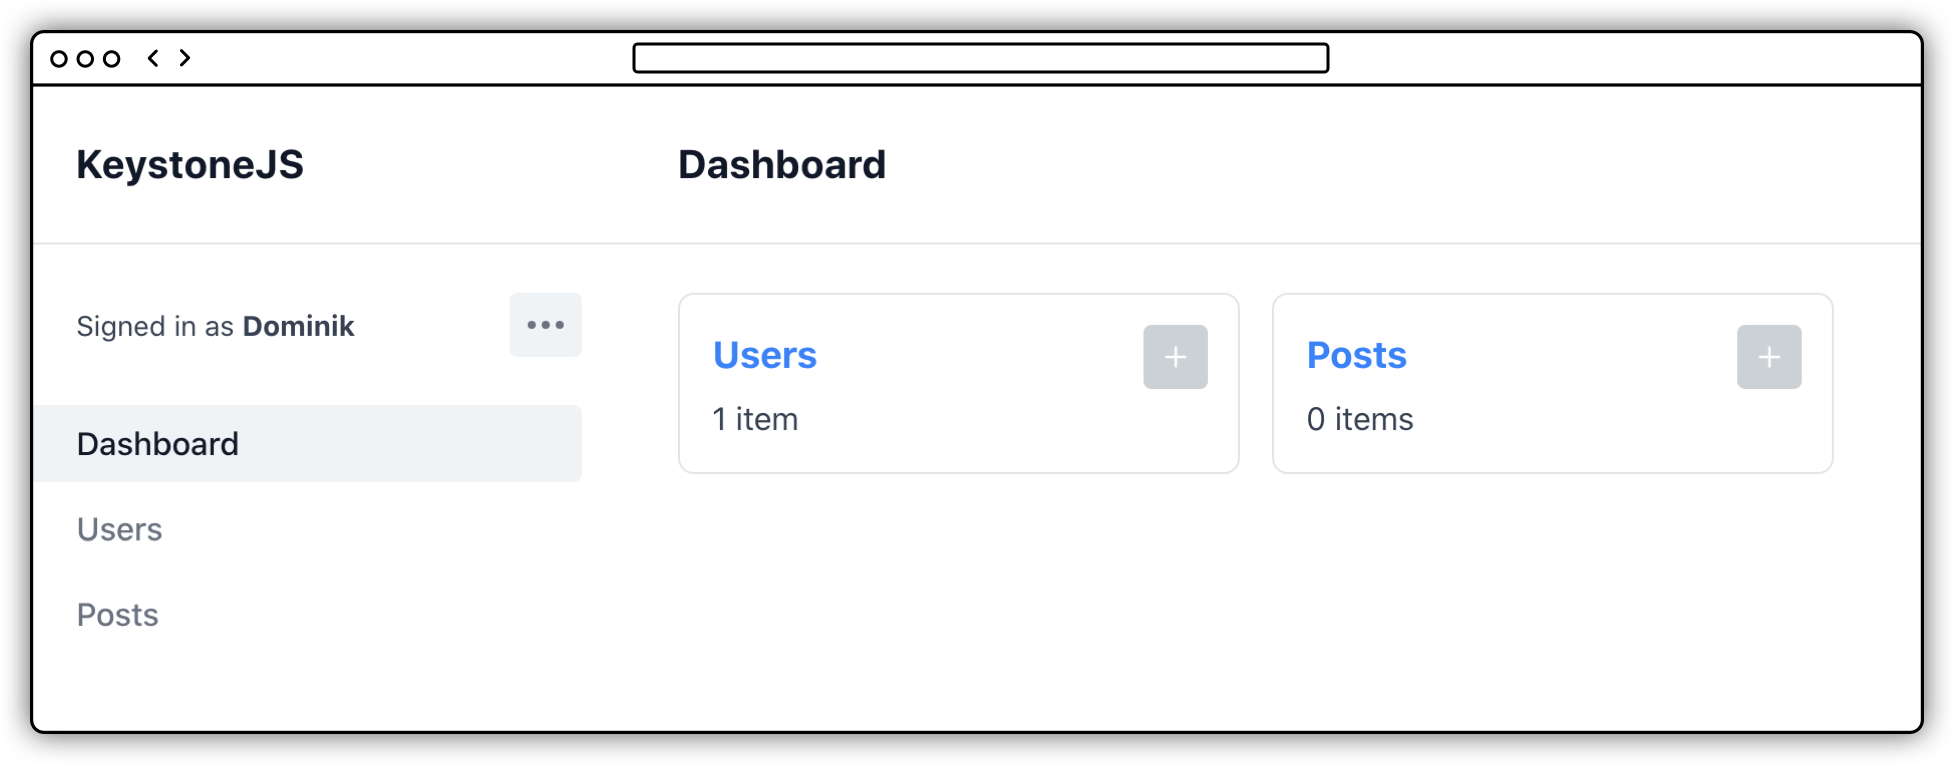
Go ahead and create your first user. The email address and password will be used to login to Keystone’s Admin UI. Once you've created your user, you’ll be logged in to a new Keystone Admin UI that comes with two lists. From here you can explore and interact with the data in your system, and understand how Keystone’s schema relates to your GraphQL API which you can explore at http://localhost:3000/api/graphql.

Output
Keystone creates the following files in your newly generated folder. The most important ones are keystone.ts and schema.ts.
.├── auth.ts # Authentication configuration for Keystone├── keystone.ts # The main entry file for configuring Keystone├── node_modules # Your dependencies├── package.json # Your package.json with four scripts prepared for you├── package-lock.json # Your npm lock file├── README.md # Additional info to help you get started├── schema.graphql # GraphQL schema (automatically generated by Keystone)├── schema.prisma # Prisma configuration (automatically generated by Keystone)├── schema.ts # Where you design your data schema└── tsconfig.json # Your typescript config
Scripts
package.json includes the following npm scripts you can run locally:
devruns Keystone in development mode at http://localhost:3000.startruns Keystone in production mode.buildwill build the project and is required to be run beforestart.postinstallensures files that Keystone generates exist and are kept up to date.
Read more about the CLI in our command line guides.
Where to next?
- Customise Keystone with the System Configuration API.
- Add fields and relationships using Lists API.
- Use a different database with the Config API.
Related resources
Keystone CLI Guide →
Keystone’s CLI helps you develop, build, and deploy projects. This guide explains all you need to standup a new backend in the terminal.
Lists API Reference →
The API to configure your options used with the list() function.
Config API Reference →
The API to configure all the parts of your Keystone system.
DB API Reference →
Configure Keystone to use another database to store data in your system.